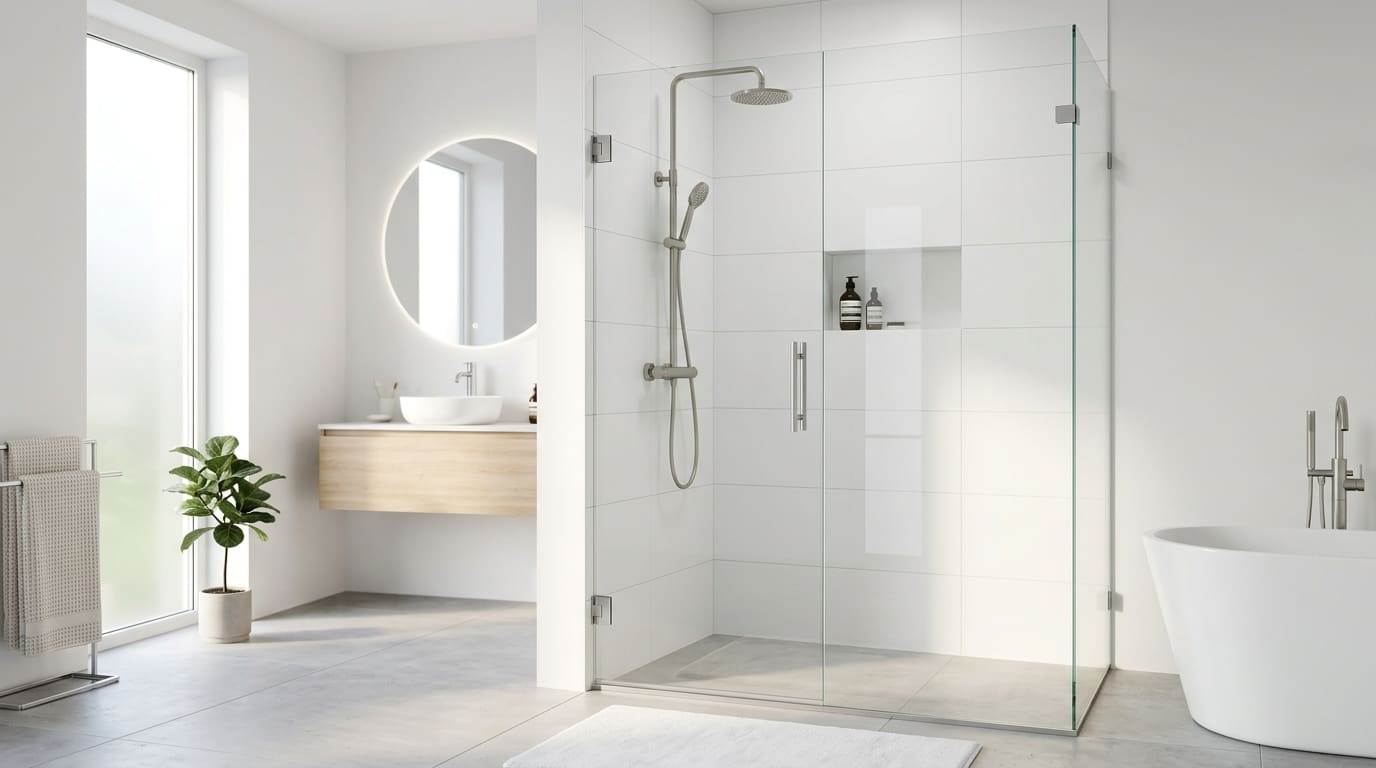
How to Install a Shower Door: Complete Professional Guide
Shower door installation transforms your bathroom from builder-grade to spa-quality. Whether you are considering a frameless glass enclosure or a sliding bypass door, this guide covers everything you need to know before starting your project.
Mike Reynolds
Lead Glass Technician & Owner
In This Article
Types of Shower Doors and Which Is Right for Your Bathroom
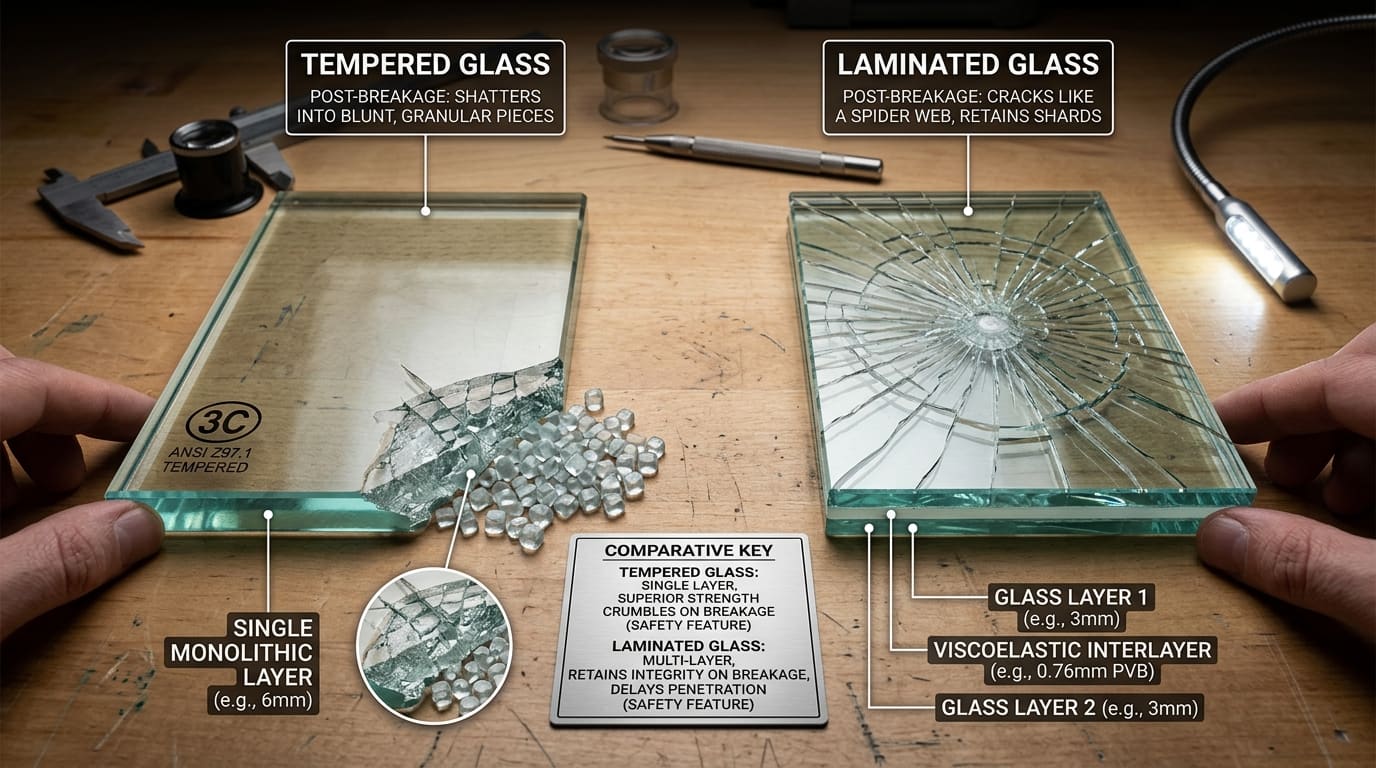
Choosing the right shower door starts with understanding the main types available. Pivot doors swing open on hinges mounted to the wall or glass panel and work best for standard alcove showers with at least 24 inches of clearance in front. Sliding bypass doors use two panels on a track system, making them ideal for bathtub-shower combinations where a swinging door would block the bathroom. Frameless hinged doors use thick tempered glass panels — typically 3/8 to 1/2 inch — mounted with minimal hardware for a clean, modern look that showcases your tilework and makes the bathroom feel larger.
Neo-angle doors fit into corner showers with angled fronts, common in smaller DMV bathrooms where space is limited. Bi-fold doors fold inward, saving space in tight bathrooms. For walk-in showers without a full enclosure, a single fixed glass panel — sometimes called a splash guard or shower screen — provides water containment without the complexity of a door system. Each type has specific structural requirements, hardware specifications, and installation procedures that affect both the difficulty and the outcome of the project.
Measuring Your Shower Opening Accurately
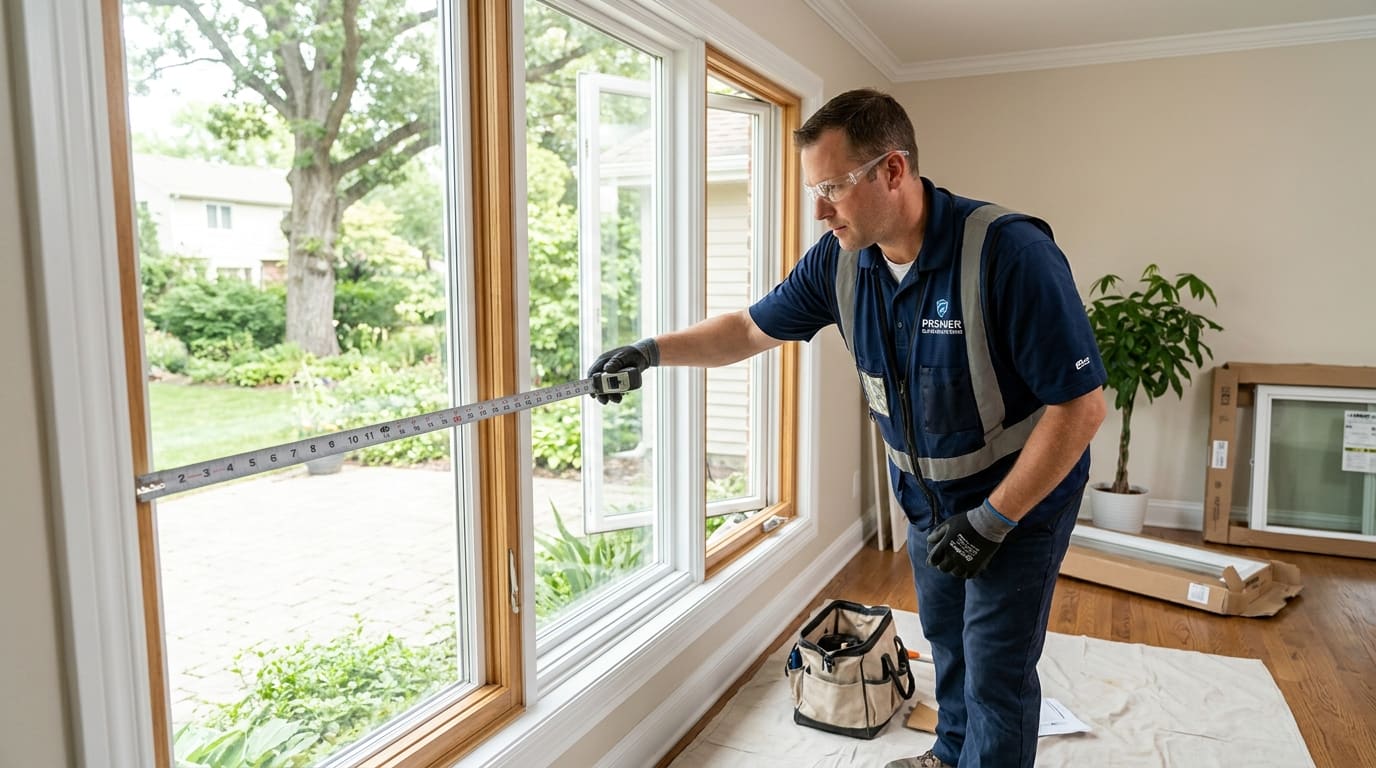
Accurate measurement is the single most important step in shower door installation — and the step where most DIY projects go wrong. Shower openings in DMV homes are rarely perfectly plumb, level, or square, especially in older homes where settling has shifted the framing. Measure the width at three points: the top of the opening, the middle, and the bottom at the threshold. Measure the height at both the left and right sides. Record the smallest width measurement and the tallest height measurement — these are your working dimensions.
For frameless doors, precision matters even more because there is no frame to compensate for irregularities. A variance of more than 1/4 inch across the opening means the glass must be custom-cut to fit the actual opening geometry, or the walls must be corrected before installation. Many DMV homes built in the 1970s through 1990s have tile walls that are not perfectly plumb, and older homes in Georgetown, Capitol Hill, and Kensington may have even greater variations. Professional measurement with a digital level ensures the door will fit correctly and operate smoothly.
Tools and Materials You Need
A basic framed shower door installation requires a power drill with masonry and glass drill bits, a level (4-foot level preferred), a tape measure, silicone sealant rated for bathroom use, a caulk gun, a pencil for marking, a hacksaw for cutting the track to length, and the complete hardware kit that comes with the door. You also need safety glasses and gloves — shower door glass is heavy and the edges can be sharp even on finished panels.
Frameless door installation requires additional specialized tools: a suction cup glass lifter for handling heavy panels safely, a torque wrench for tightening glass clamps to the manufacturer's specification without over-tightening and cracking the glass, appropriate wall anchors for your specific wall construction, and shimming materials for achieving precise alignment. The glass panels for a frameless door weigh 60 to 100 pounds each and require at least two people to handle safely during installation.
Step-by-Step Installation Process
For a standard framed sliding door, the process begins with installing the bottom track on the threshold, ensuring it is perfectly level and sealed with silicone to prevent water leakage. The wall jambs are then mounted plumb on each side, shimmed if necessary to compensate for wall irregularities. The header track connects the jambs at the top. Once the frame is secure and verified for plumb and level, the door panels are hung on the track rollers and adjusted for smooth operation and proper overlap.
For frameless doors, the process is more demanding. Wall-mounted hinges or clamps must be attached directly to wall studs or solid blocking — not just drywall or tile alone. The heavy glass panel is lifted into the hinge hardware and secured with set screws torqued to exact specifications. The door must swing freely without binding, close flush against the seal strips, and maintain consistent gaps around the perimeter. Any misalignment results in a door that does not close properly, leaks water, or puts uneven stress on the glass and hardware.
After the door is hung and adjusted, all joints between the glass, hardware, and wall surfaces are sealed with clear silicone. The silicone must cure for 24 hours before the shower is used. Final adjustments to the door sweep, drip rail, and strike plate ensure water containment and smooth operation.
Common Installation Mistakes to Avoid
The most frequent DIY installation mistake is failing to anchor hardware into structural support. Shower door hinges and brackets must connect to wall studs or blocking — a frameless glass door weighing 80 pounds mounted only into drywall will eventually pull free, potentially shattering the glass and causing serious injury. In DMV homes with tile walls over cement board, the fasteners must pass through the tile, through the cement board, and into the stud behind.
Other common mistakes include cutting the bottom track too short (leaving gaps that leak), failing to apply adequate silicone at the threshold (the most common leak point), over-tightening glass clamps (which can crack tempered glass days or weeks after installation), and not verifying plumb and level before securing the frame. Uneven installation puts constant stress on the glass and hardware, causing premature wear and water leaks that damage your bathroom floor and subfloor over time.
When to Hire a Professional
Frameless shower door installation is not a beginner DIY project. The glass is expensive, heavy, and unforgiving of mistakes — a cracked panel cannot be repaired, only replaced at full cost. If your shower opening is significantly out of plumb or square, if you are installing on tile walls without confirmed stud locations, or if the door design requires custom glass cutting, professional installation protects your investment and ensures a result that looks and functions as intended.
At Virginia Glass Windows, we handle shower door installation throughout Washington DC, Maryland, and Virginia. We measure precisely, verify wall construction before ordering, and install with the hardware torque specifications and sealing techniques that ensure your shower door operates perfectly for years. Call us at (703) 470-7867 or use our free photo estimate to get started — send photos of your shower opening and we will recommend the best door solution for your bathroom and budget.
About the Author
Mike Reynolds
Lead Glass Technician & Owner
With over 15 years of experience in window and glass repair across the DC, Maryland, and Virginia area, Mike shares practical expertise to help homeowners and businesses make informed decisions about their glass repair and replacement needs.
Need Help With Your Glass?
Our experts are ready to help with any window or glass issue. Free estimates, same-day service available across DC, MD & VA.
Related Articles
Continue reading about guides
More Guides
View All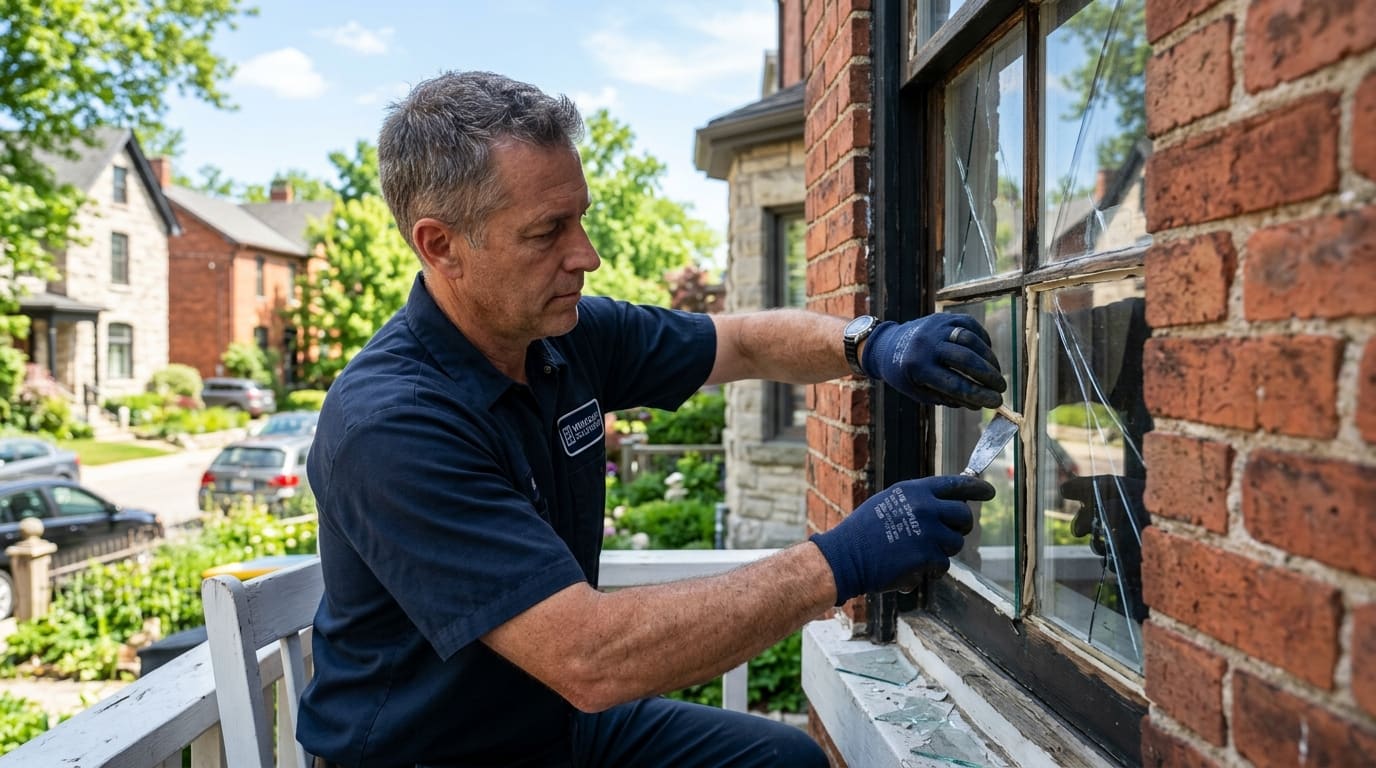
How to Tell If Your Window Glass Needs Repair or Replacement
8 min read
Stress Cracks in Windows: Causes, Prevention & Solutions for DMV Homeowners
7 min read
Foggy Windows: Why Double-Pane Seals Fail & What to Do About It
9 min read
Glass Replacement in Historic DMV Homes: Preservation Meets Performance
9 min readExplore More Resources
Helpful Guides
Common Problems
Related Pages
Our Services
24/7 Emergency
Board-Up & Glass
Licensed & Insured
DC, MD & VA
300+ Areas
DMV Coverage
Same-Day Service
When You Need It
Ready to Get Started?
Get a free estimate for any window or glass service across the DMV area.